Organizing Your Digital Images
Step 1: Physical Organization
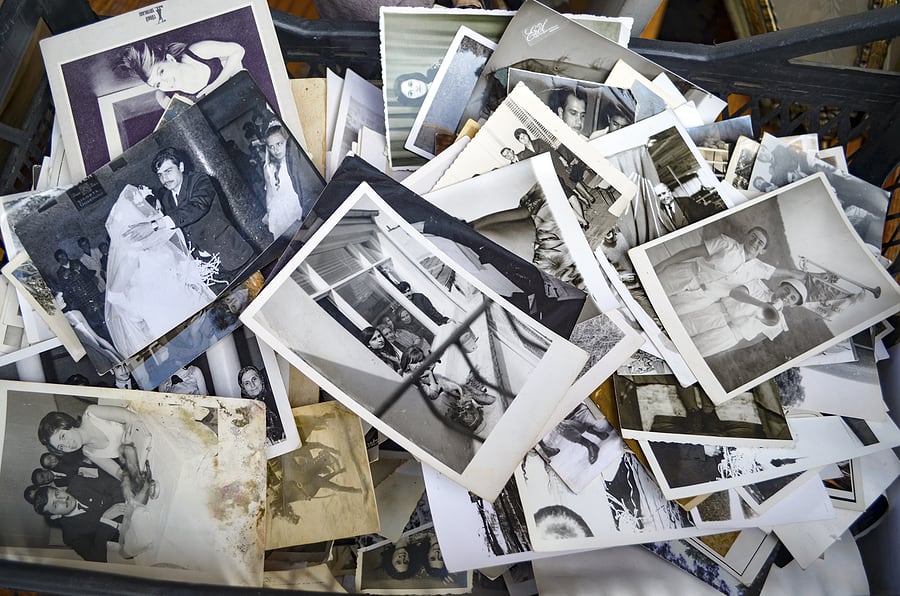
Save yourself some trouble by sorting the images the best you can before scanning them!
- Sort by color or black and white, then types of photos within each. For example, place Polaroids in a pile and 3×5 photos in another. This will really start to make your collection take shape and feel less discombobulated.
- Once you have your types of photos in piles, organize each pile by date the best you can. Use clues such as the automatic date stamp on the photo itself or the date of when the photo was developed on the back.
- Once your photos are sorted by type, then you can digitize them by scanning into corresponding folders
Step 2: Digital Organization
Folder Naming
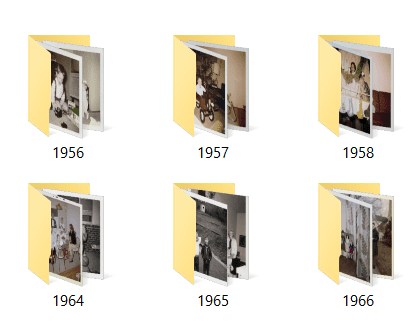
When naming subject directories start with the date by year, then month (if applicable) and then the subject title so that the file folders will sort chronologically by date.
Sorting by date is a good start to keeping your digital files organized. It helps break the subject matter down to make it easier to search by time period for a set of photos as a starting point.
Digital File Naming
You may consider naming the image files themselves to relate to the subject name, resulting in more organization.
You can either do this by manually renaming each file (which would be tedious) or use a batch renaming software to easily replace an entire directory with a new name. i.e. “IMG-001” to “1998-05-25-Graduation-001”
Automatic Digital File Naming
Rather than manually naming all your files by hand, consider using a utility like FastStone to help you organize your digital images by dragging and dropping them and then bulk renaming them. We have an easy to follow guide that can help you accomplish this task.


